In the last post, you saw a glimpse of what one of the refactored components looks like, but you may have noticed that the proxy geo that comes with the components in the ARTv2 beta version was missing. One of the things I wanted to do when doing this refactor was simplify and separate responsibilities. The joint mover was doing too much. It was responsible not only for placing joints, but for defining the proxy geometry. This made the class huge and also made the joint mover carry around lots of baggage that was really only needed at the very beginning of the process.
Also, some people may not even want or need the proxy geometry. They may just want to simply place a component’s joints and not have to worry about or fuss with that step. So, I decided to remove it from the component and separate it into its own tool. This way, people that want to use proxy geometry still can, but it is not included with the components.
At work, we use proxy geo extensively. It lets us get characters in game with only a rough concept sketch and validate and iterate on proportions and height quickly. This also provides a template for the modelers to build the final asset from. We wanted to add more features to the proxy geo to be able to validate form, which the current ARTv2 beta setup was too clunky to do. It was at this time, that I decided to separate out proxy geo from components and add more features to the proxy geo in order to get better results that would allow validation and iteration on proportions, form, and scale.
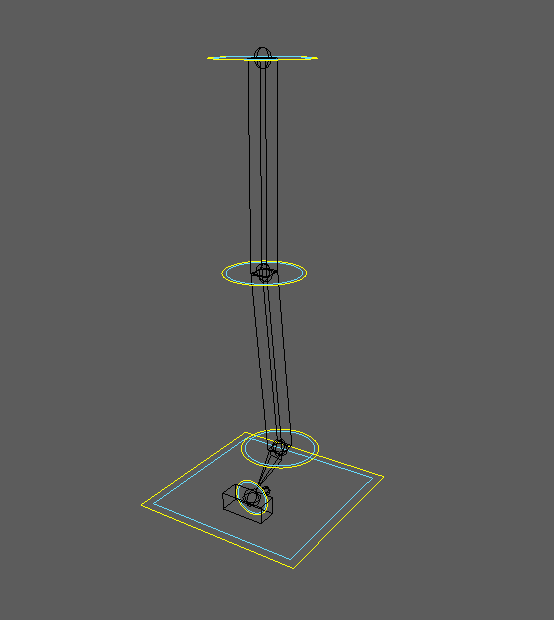
The stand-alone tool (meaning it can be used outside of ARTv2 altogether), is setup in a similar fashion to the ARTv2 refactor, meaning it is component-based. For every ARTv2 component, there will likely be a matching proxy model maker component. As you can see in the above video, proxy geo components are no longer segmented. There is a simple “rig” that allows for some basic shaping.
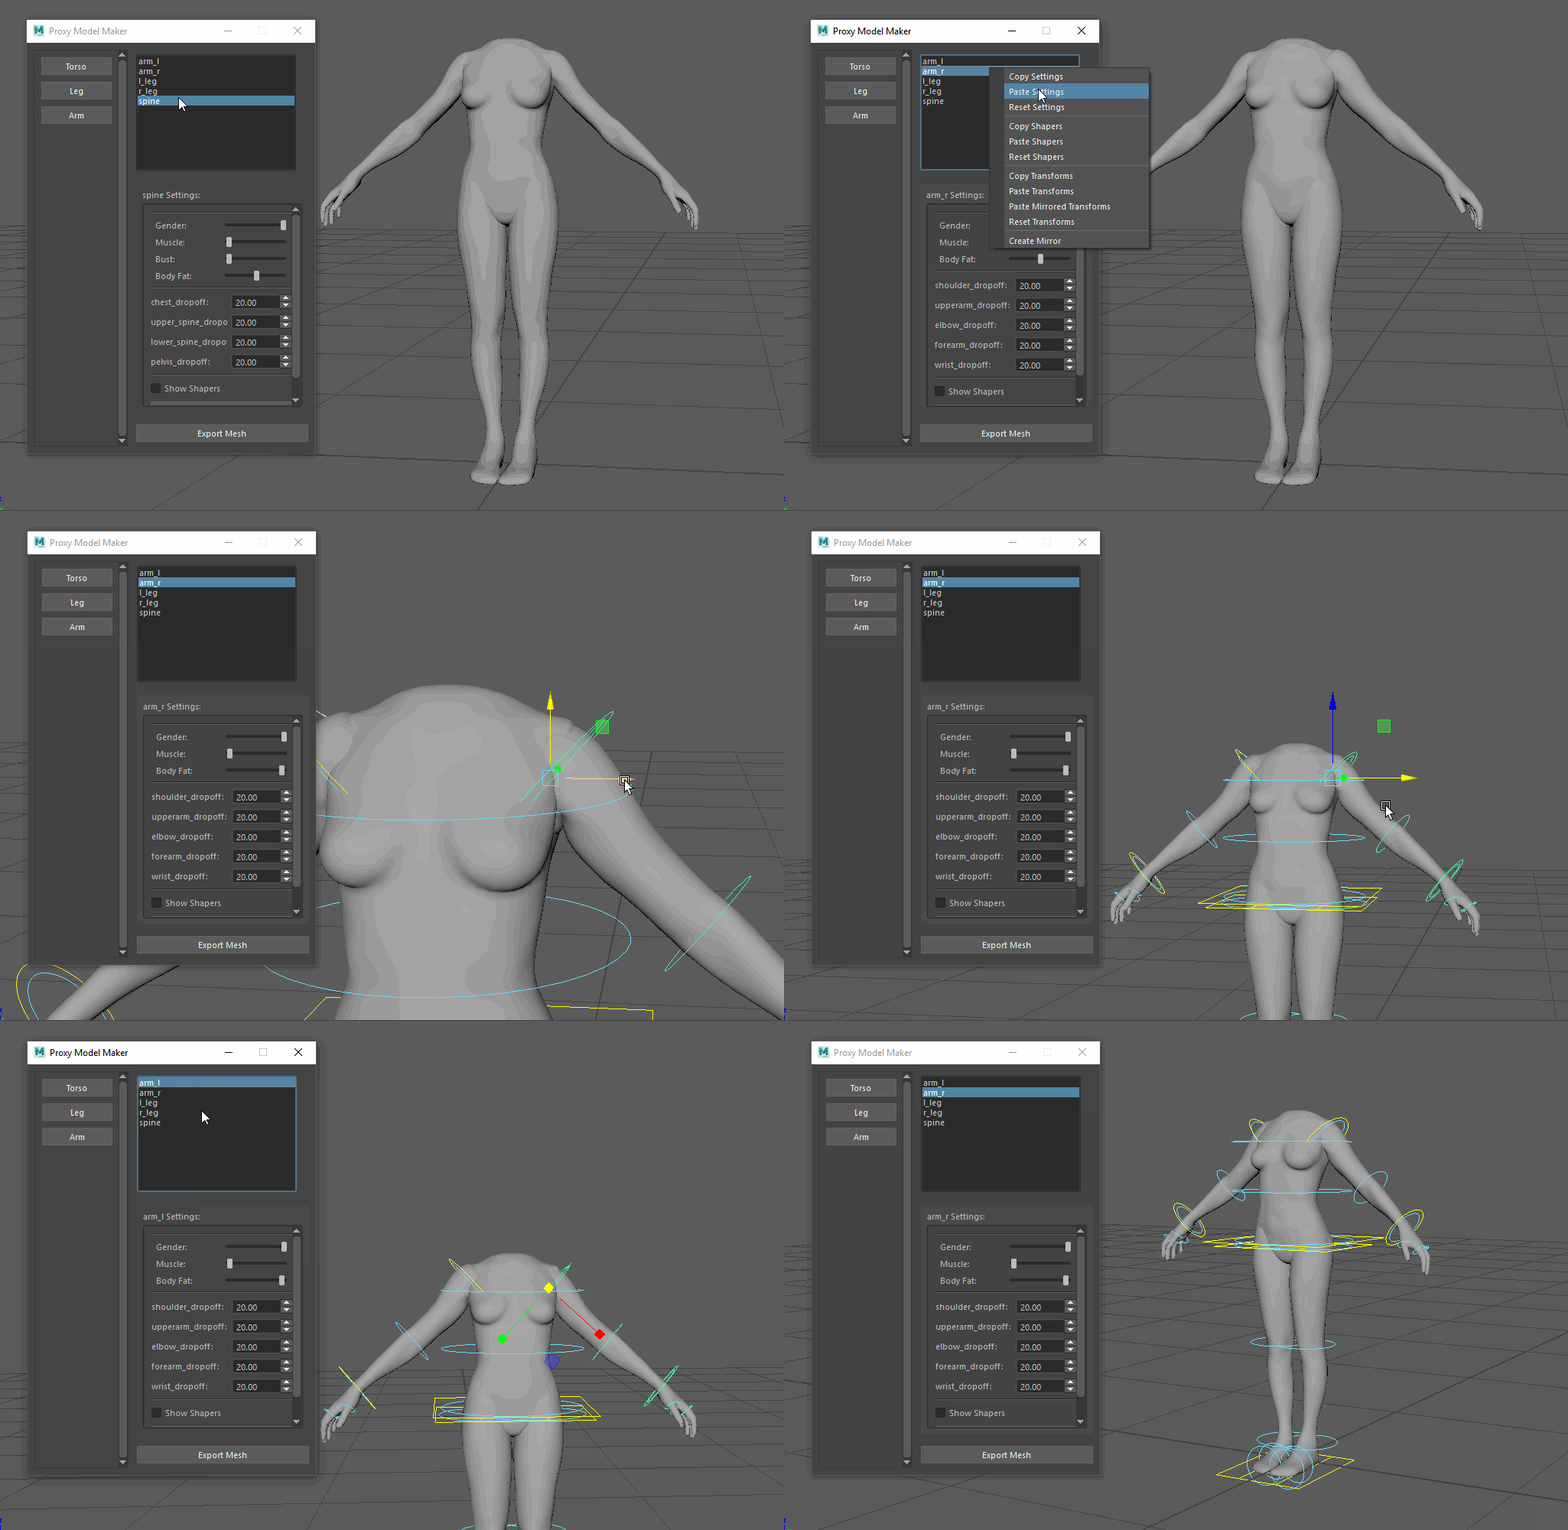
In the component settings, you will see that there are sliders for the physique. These allow some basic detailing to rough in the form of the body.
Furthermore, there are shaper controls that can be used to further shape a component. These shaper controls support local mirroring (mirroring within the component).
Some components, like arms and legs, can be mirrored. Settings from any component can be copy/pasted to similar components, and transforms can be mirrored across components like arms and legs.
Settings, Transforms, and Shaper values can be copy/pasted and mirrored.
Some components can be mirrored.
So, in short, that’s what I’ve been working on (albeit, not a ton as other work-related tasks have popped up!). To be honest, while I know it’s a marked improvement over what was there initially, I still think it might be a bit limited compared to something like CG Monastery’s MRS, in terms of this catering more to a semi-realistic style. I also really like their lofted setup. For my shapers, I’m using wire deformers, which I think works well enough.
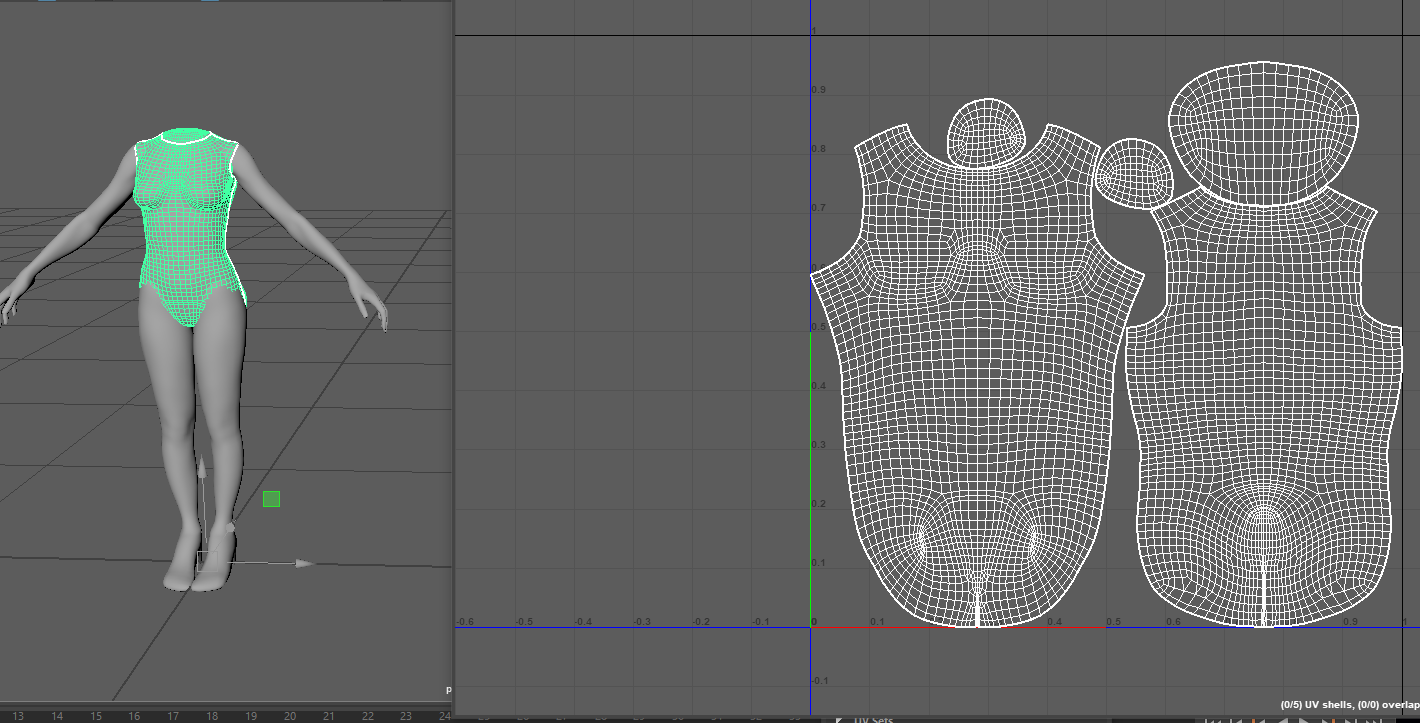
As you can see in the UI, the output of this tool will be a single mesh without all these deformers that can then be rigged and skinned. Now, if you use ARTv2, the plan is that this will be automated (it will know where joint placement should go based on the mesh and should know how to skin it based on your ARTv2 component settings). This work hasn’t been completed yet, and I still need to do the head component, prop components (single joints), chain components (tails, tentacles, etc), and the export mesh feature. If you don’t use ARTv2, then the plan is to have the hooks there so you can automate that with your own stuff. Oh, also, all the meshes are already unwrapped, so you can paint a quick texture on there for color-blocking your proxy. Part of the plan for the export mesh function is to take the UVs and combine them onto a single set.
Lastly, here’s a demo of what I have so far:
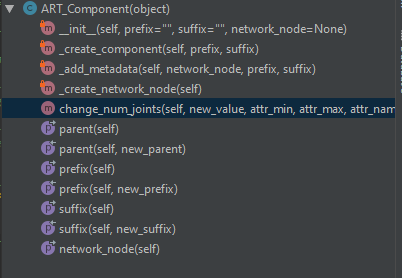
If anyone is interested, I can go over the code stuff in a follow-up post. Let me know what you think, as I think this is a good direction, but honestly, I’m just winging it.
